
Table of Contents
Pinhole Camera Class 6: Ever heard of a camera without a lens? Wait, what?? A camera without a lens; is that what you are asking? Yes, you heard that right! Enter the pinhole camera! A camera that does not use a lens. In this blog, we’ll unravel the magic behind pinhole cameras—what they are, how they work, how to make one as a cool science project, and where you can find them in everyday life. Let’s dive in!
Let us first try to understand what a pinhole camera is.
What is a Pinhole Camera?

A pinhole camera is a simple type of camera that lacks a lens but utilizes a tiny pinhole opening instead. It consists of a light-tight container, such as a cardboard box or a tin can, with a small hole made in one side. Light passes through this pinhole and creates an inverted image on photosensitive material placed inside the camera. Despite its basic construction, it can produce unique and captivating images, making them popular among photography enthusiasts and as educational tools for understanding the principles of light and optics.
Also Read: Light, Shadows and Reflection Class 6 Notes Science Chapter 11
Working Principle of Pinhole Camera
The working principle of a pinhole camera revolves around the concept of light passing through a small aperture (the pinhole) to create an image. Here’s how it works:
- Light Enters Through the Pinhole: In a pinhole camera, there is no lens to focus light rays. Instead, light enters through a tiny aperture or hole, typically made in a light-tight container such as a cardboard box.
- Formation of an Image: As light rays pass through the pinhole, they travel in straight lines and create an inverted image of the scene outside the camera on the opposite side. This image forms on a surface within the camera, such as photosensitive film or paper.
- Inversion of the Image: Due to the way light rays converge and intersect at the pinhole, the resulting image formed inside the camera is inverted. This means that objects appearing at the top of the scene outside the camera will be projected at the bottom of the image, and vice versa.
- Exposure and Capture: The inverted image is captured on photosensitive material (film or paper) placed inside the pinhole camera. The duration of exposure depends on factors such as the amount of available light and the sensitivity of the photosensitive material.
- Development of the Image: After exposure, the photosensitive material is developed to reveal the captured image. The inverted image becomes upright and can be viewed or printed for observation.


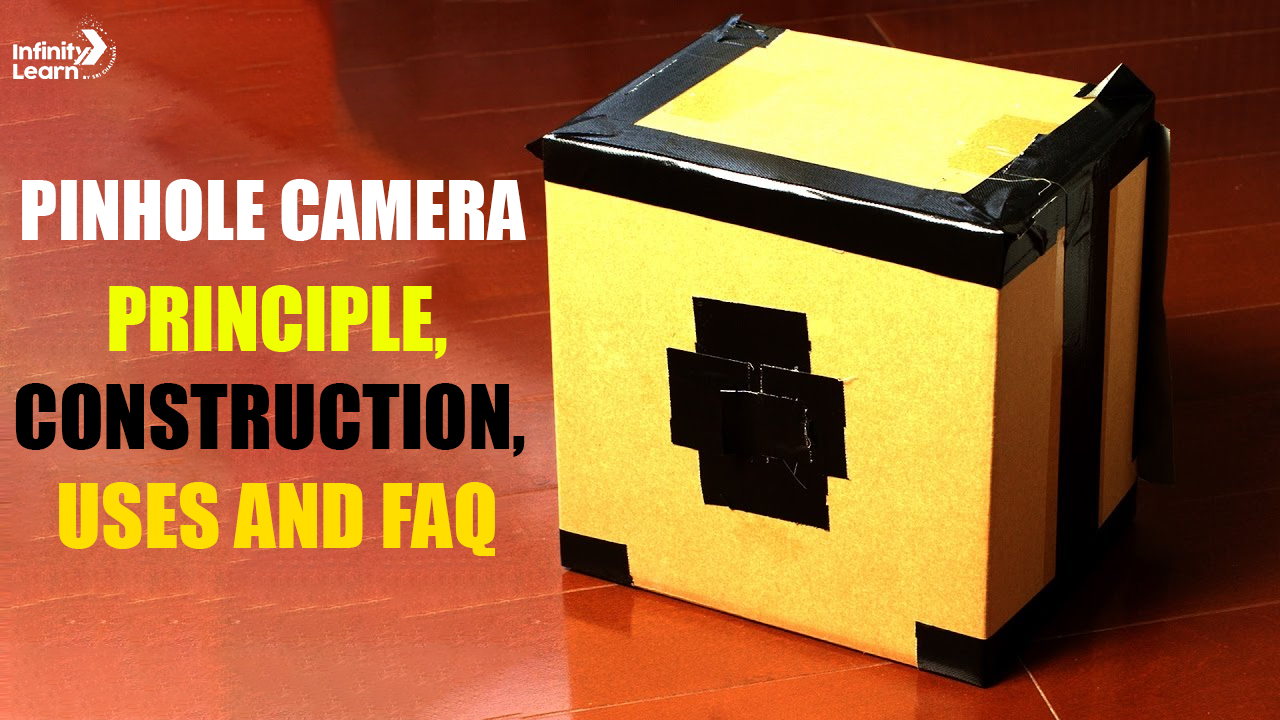
Construction of Pinhole Camera Class 6 – DIY Pinhole Camera
The construction of a pinhole camera is relatively simple and can be made using readily available materials. It typically consists of a light-tight container (like a cardboard box or tin can), a small pinhole aperture, and a photosensitive material (such as film or photographic paper) placed on the opposite side of the pinhole. The container has a shutter mechanism to control the exposure time. Here’s a basic overview of how to construct a pinhole camera:
How to Make a Pinhole Camera – Science Project for Class 6
Making a pinhole camera is an exciting and educational science project that can be enjoyed by students in Class 6. Here’s a step-by-step guide on how to make it:
Materials Needed:
- Cardboard box with removable lid
- Black paint or tape
- Aluminum foil
- Needle or pin
- Scissors
- Photosensitive paper or film
- Tape
- Ruler
- Pencil
Instructions:
- Prepare the Box:
- Choose a cardboard box with a removable lid. Ensure it is clean and sturdy.
- Use black paint or tape to cover the inside of the box completely. This will make it light-tight.
- Create the Pinhole:
- Cut a small square or circle (about 1 inch) in the center of one side of the box.
- Cut a piece of aluminum foil slightly larger than the hole.
- Carefully tape the aluminum foil over the hole.
- Make the Pinhole:
- Use a needle or pin to pierce a tiny hole in the center of the aluminum foil. This will act as the pinhole through which light enters the camera.
- Insert the Photosensitive Material:
- Place a piece of photosensitive paper or film on the opposite side of the pinhole inside the box. Ensure it lies flat against the inner surface of the box.
- Seal the Box:
- Close the lid of the box securely to keep out any light leaks during exposure. Use tape or additional black paint to seal any gaps or seams.
- Capture Images:
- Take your homemade pinhole camera outside on a sunny day.
- Remove the lid and aim the pinhole towards a scene or object you want to photograph.
- Hold the camera steady or place it on a stable surface.
- Open the lid for a specific amount of time to allow light to enter through the pinhole and expose the photosensitive material. The longer the exposure, the more detailed the image will be.
- Develop the Image:
- Once the exposure is complete, remove the photosensitive material from the pinhole camera.
- Follow the instructions for developing the photosensitive paper or film to reveal the captured image.
Uses and Applications of Pinhole Camera Class 6
Pinhole cameras, despite their simplicity, have a wide range of uses and applications across various fields. Here are some of the most common:
- Education: Pinhole cameras are excellent educational tools for teaching principles of optics, light, and photography in classrooms. They provide hands-on learning experiences that help students understand how images are formed and how light behaves.
- Art and Photography: Many artists and photographers use pinhole cameras to create unique and artistic images. The soft focus and distinctive aesthetic produced by pinhole cameras add a creative and nostalgic touch to photographs, making them popular among enthusiasts and professionals alike.
- Experimental Photography: Pinhole cameras allow for experimentation and exploration in photography. Photographers can manipulate exposure times, aperture sizes, and other variables to create abstract or unconventional images.
- Historical Reenactments: Pinhole cameras offer a glimpse into the early days of photography and can be used in historical reenactments or demonstrations to showcase the origins of photography and the evolution of camera technology.
- Scientific Research: Pinhole cameras have applications in scientific research, particularly in fields such as astronomy and astrophysics. They can be used to observe solar eclipses, study celestial phenomena, or capture long-term time-lapse images of natural processes.
- Security and Surveillance: Pinhole cameras are sometimes used for covert surveillance or security monitoring in tight spaces where traditional cameras cannot fit. They can be discreetly installed in walls, ceilings, or other inconspicuous locations to capture footage without drawing attention.
- Pinhole Photography Workshops: Many organizations and photography clubs organize workshops or events focused on pinhole photography. These workshops provide opportunities for enthusiasts to learn new techniques, share ideas, and collaborate on projects involving pinhole cameras.
- Experimental Art Projects: Pinhole cameras are popular tools for experimental art projects and installations. Artists use them to create immersive experiences, interactive exhibits, and thought-provoking installations that explore themes of perception, light, and space.


Conclusion
The pinhole camera may be simple in design, but its principles are profound and its applications diverse. Whether you’re a photography enthusiast, a curious student, or just someone intrigued by science and art, exploring the world of pinhole cameras is sure to be an illuminating journey. So grab a box, poke a hole, and start capturing the world in a whole new light!
Pinhole Camera Class 6 FAQs
What are the uses of pinhole camera?
Pinhole cameras are used for various purposes including art and photography, education, experimental projects, historical reenactments, scientific research, security and surveillance, workshops, and art installations.
Which principle is used in pinhole camera?
The principle of light passing through a small aperture to form an image is used in pinhole cameras. This process is based on the laws of optics and the behavior of light rays.
Which property is used in pinhole camera?
The property of light traveling in straight lines and forming an image when passing through a small aperture is utilized in pinhole cameras. This property allows for the creation of images without the need for a lens.
What is the conclusion of pinhole camera?
The conclusion of a pinhole camera is that it demonstrates how light passing through a small aperture can create an image on a surface opposite to the aperture. Pinhole cameras provide a simple yet effective way to capture images using basic principles of optics.
What is the use of pinhole camera - class 6?
In a class 6 setting, the use of a pinhole camera serves as an educational tool for teaching students about the principles of light, optics, and photography. It provides hands-on learning experiences and encourages students to explore scientific concepts in a practical and engaging way.