Table of Contents
Top 10 science project ideas for Class 9: Are you looking for exciting science project ideas for your Class 9 students? Class 9 science projects are an integral part of the CBSE syllabus, designed to enhance students’ understanding of fundamental scientific concepts outlined in the NCERT solutions. These projects serve as practical applications of theoretical knowledge acquired in the classroom, encouraging students to explore various scientific principles through hands-on experimentation. From investigating chemical reactions to studying the laws of motion, class 9 science projects foster critical thinking and analytical skills while instilling a deeper appreciation for the scientific method. These projects cover various topics in science, including physics, chemistry, biology, and environmental science. Also access our NCERT Solutions Class 9 that are created by our subject experts. Here are the top 10 science project ideas that are both educational and fun.
Top 10 Science Project Ideas For Class 9
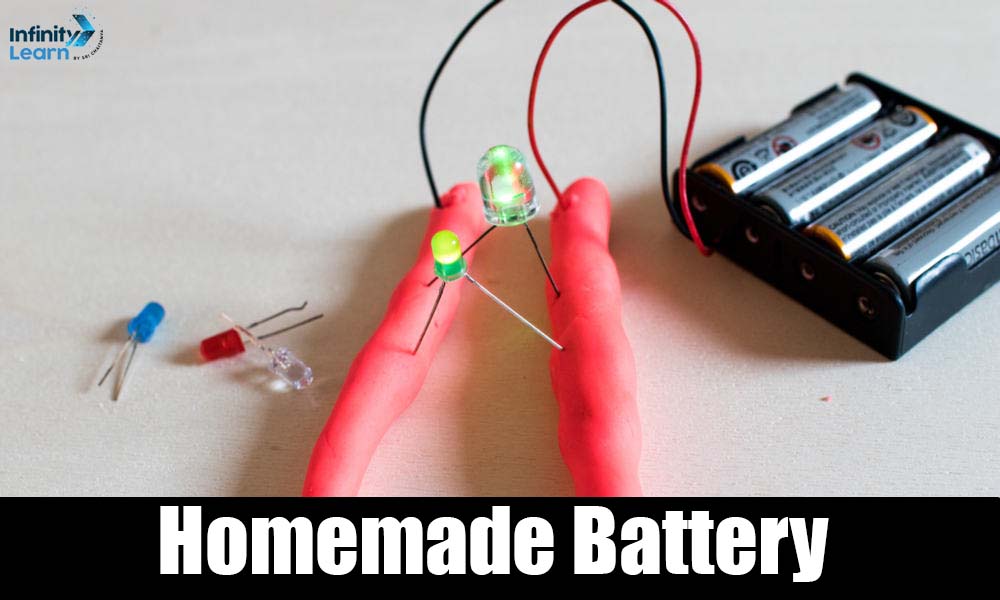
1. Homemade Battery
Materials Required:
- Copper coins (2)
- Zinc nails (2)
- Cardboard pieces (2)
- Vinegar
- Multimeter
Steps:
- Clean the copper coins and zinc nails to remove any dirt or debris.
- Cut the cardboard pieces to fit between the coins and nails.
- Place one copper coin on a flat surface.
- Place one cardboard piece on top of the coin.
- Place one zinc nail on top of the cardboard.
- Repeat the layering with the second set of components (copper coin, cardboard, zinc nail).
- Pour vinegar over each set of components to soak the cardboard.
- Stack the two sets of components together, ensuring that the copper coins and zinc nails are not touching each other.
- Connect the multimeter to the copper coin at one end and the zinc nail at the other end.
- Set the multimeter to measure voltage and observe the reading.

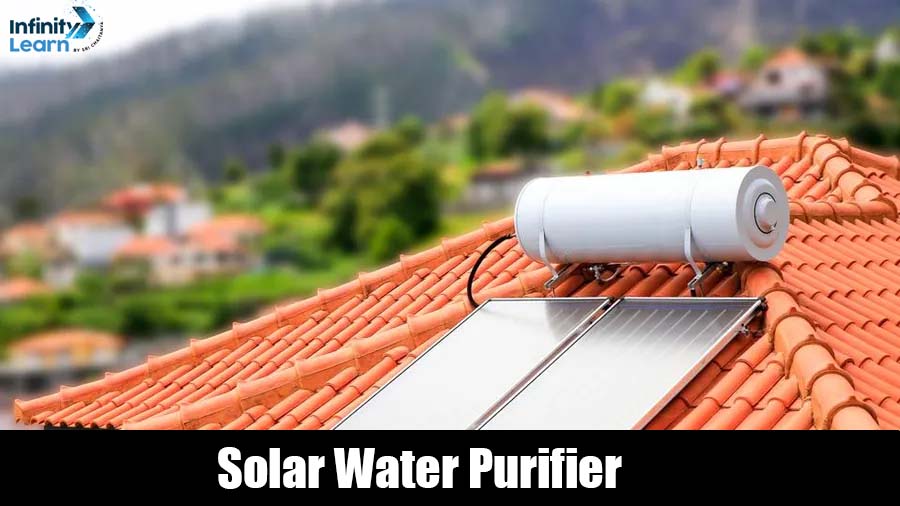
2. Solar Water Purifier
Materials Required:
- Plastic bottles (2)
- Activated charcoal
- Sand
- Gravel
- Contaminated water
- Sunlight
Steps:
- Cut the bottom off one plastic bottle to create a funnel.
- Keep the other bottle intact as the collection container.
- Place a layer of activated charcoal at the bottom of the funnel bottle.
- Add a layer of sand on top of the charcoal.
- Finish with a layer of gravel on top of the sand.
- Place the funnel bottle upside down inside the collection container.
- Ensure that the neck of the funnel bottle is above the rim of the collection container.
- Pour contaminated water into the funnel bottle.
- Allow the water to filter through the layers of activated charcoal, sand, and gravel.
- Collect the purified water from the collection container.
- Place the purifier in direct sunlight.
- The UV rays from the sun will help disinfect the water.
- Observe the clarity and cleanliness of the purified water compared to the contaminated water.
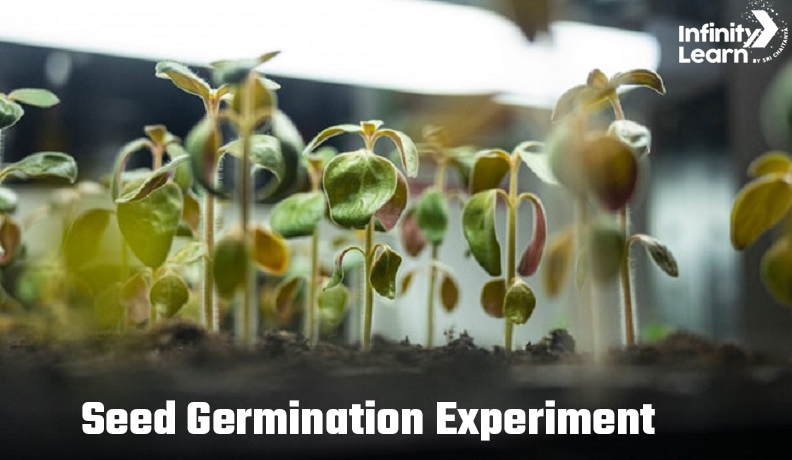
3. Seed Germination Experiment
Materials Required:
- Various types of seeds (e.g., bean, pea, corn)
- Paper towels
- Water
- Plastic bags
Steps:
- Select different types of seeds for the experiment.
- Place a few seeds of each type on a damp paper towel.
- Dampen the paper towels with water, ensuring they are not too wet.
- Fold the paper towel over the seeds to cover them completely.
- Place the wrapped seeds in a plastic bag.
- Seal the plastic bag to create a humid environment for the seeds.
- Place the bags in a warm, well-lit area, such as a windowsill.
- Check the seeds daily for germination.
- Record the number of days it takes for each type of seed to germinate.
- Note any differences in germination time between the types of seeds.
- Record the growth of the seedlings over time.
- Analyze the results of the experiment and draw conclusions about the factors that affect seed germination.
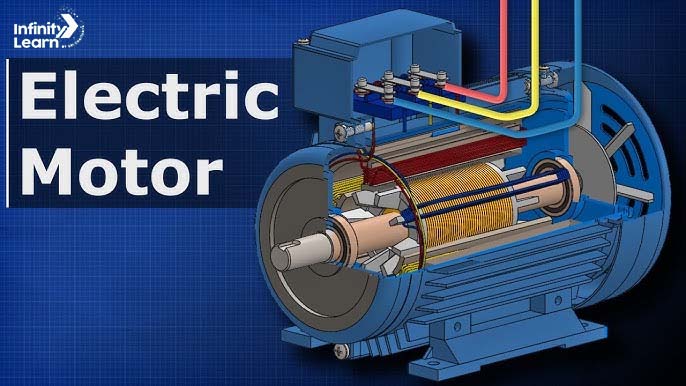
4. Electric Motor
Materials Required:
- Copper wire
- Battery (AA or AAA)
- Magnets (neodymium magnets work well)
- Small piece of wood
- Insulating tape
Steps:
- Wind the copper wire tightly around the piece of wood to create a coil. Leave a few inches of wire at each end.
- Attach one end of the coil to the positive terminal of the battery using insulating tape.
- Attach the other end of the coil to the negative terminal of the battery using insulating tape.
- Place the magnets on a flat surface with the poles facing up.
- Place the piece of wood with the coil on top of the magnets.
- Spin the coil gently to start the motor.
- Observe the rotation of the coil.
- You can change the direction of the current in the coil by reversing the battery to change the direction of rotation.
5. Acid-Base Indicator

Materials Required:
- Red cabbage
- Water
- Strainer
- Various household acids (e.g., vinegar) and bases (e.g., baking soda solution)
Steps:
- Boil red cabbage leaves in water to extract the pigment.
- Let the solution cool and strain out the cabbage leaves to obtain the indicator solution.
- Pour a small amount of the indicator solution into separate containers.
- Add a small amount of each household acid and base to different containers.
- Note any color changes in the indicator solution when it comes into contact with acids and bases.
- Acids typically turn the solution pink or red, while bases turn it green or blue.
- Compare the color changes in the indicator solution when exposed to different acids and bases.
- Note the differences in color changes between acids and bases.
- Based on the color changes observed, classify the substances tested as acids or bases.
- Red cabbage indicator can be used as a natural pH indicator for household acids and bases.
6. Rainwater Harvesting Model
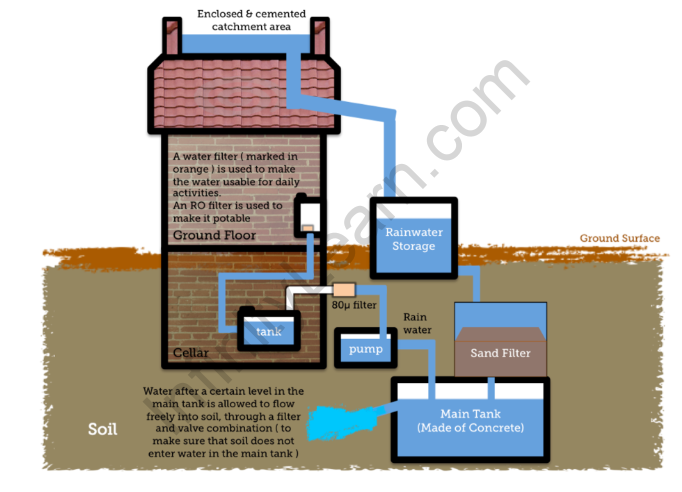
Materials Required:
- Plastic containers (2)
- Pipes
- Gravel
- Sand
- Water collection barrel
Steps:
- Place one plastic container under a downspout to collect rainwater.
- Connect a pipe to the downspout to direct water into the container.
- Place a layer of gravel at the bottom of the second container.
- Add a layer of sand on top of the gravel.
- Place the second container above the first one, with the pipe running from the first container to the second.
- Connect the two containers with a pipe, ensuring a slight slope for water to flow.
- Place a filter at the entrance of the pipe to prevent debris from entering the second container.
- When it rains, water will flow from the downspout into the first container.
- Excess water will flow through the pipe into the second container, where it will be filtered and stored.
- Use the harvested rainwater for gardening, washing vehicles, or other non-potable purposes.
- Regularly clean the filters and containers to prevent clogs and contamination.
- Optionally, install a water pump to use the harvested rainwater for irrigation or other purposes that require water pressure.
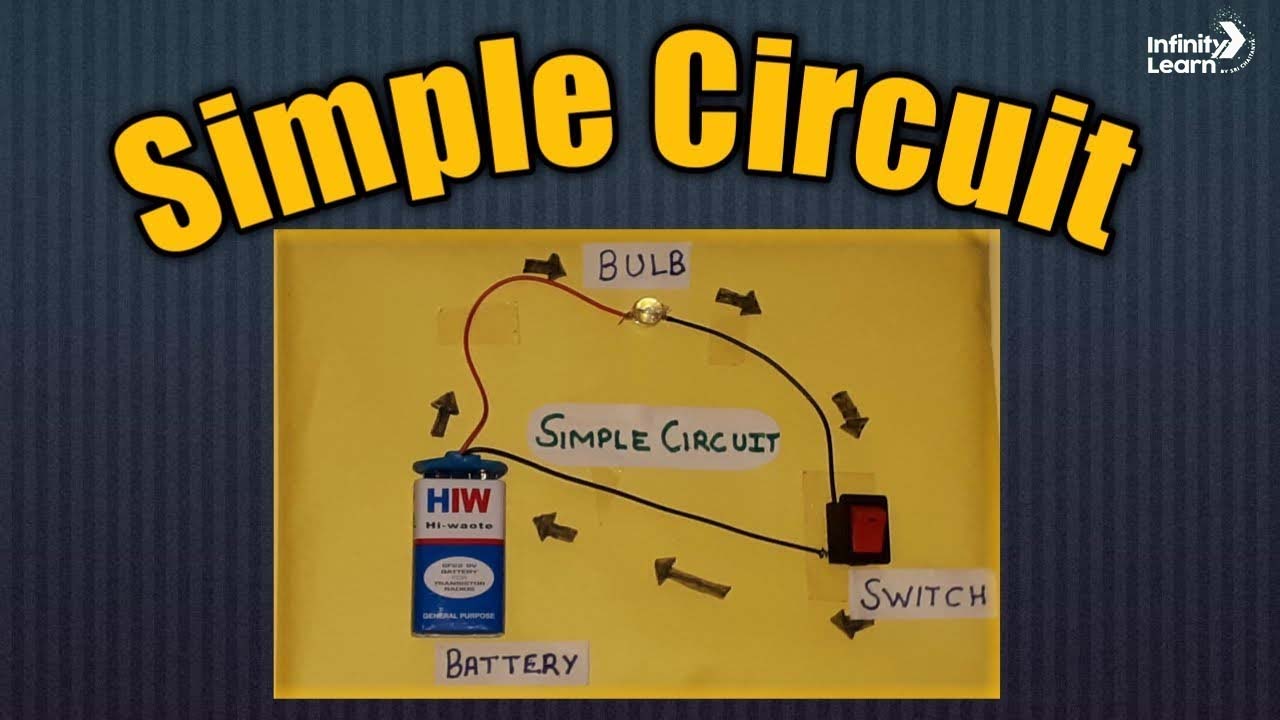
7. Simple Circuit
Materials Required:
- Battery (AA or AAA)
- Light bulb
- Wires
- Switch
Steps:
- Gather the battery, light bulb, wires, and switch.
- Connect one end of a wire to the positive terminal of the battery.
- Connect the other end of the wire to one terminal of the switch.
- Connect another wire from the other terminal of the switch to one terminal of the light bulb.
- Connect a final wire from the other terminal of the light bulb back to the negative terminal of the battery.
- Close the switch to complete the circuit.
- The light bulb should light up when the circuit is closed.
- Open and close the switch to observe the behavior of the light bulb.
- The light bulb should turn on when the switch is closed and turn off when the switch is opened.
- Experiment with different components to see how they affect the circuit.
- Handle the components carefully to avoid electrical shocks.
- Do not leave the circuit connected for an extended period to prevent overheating or damage to the components.
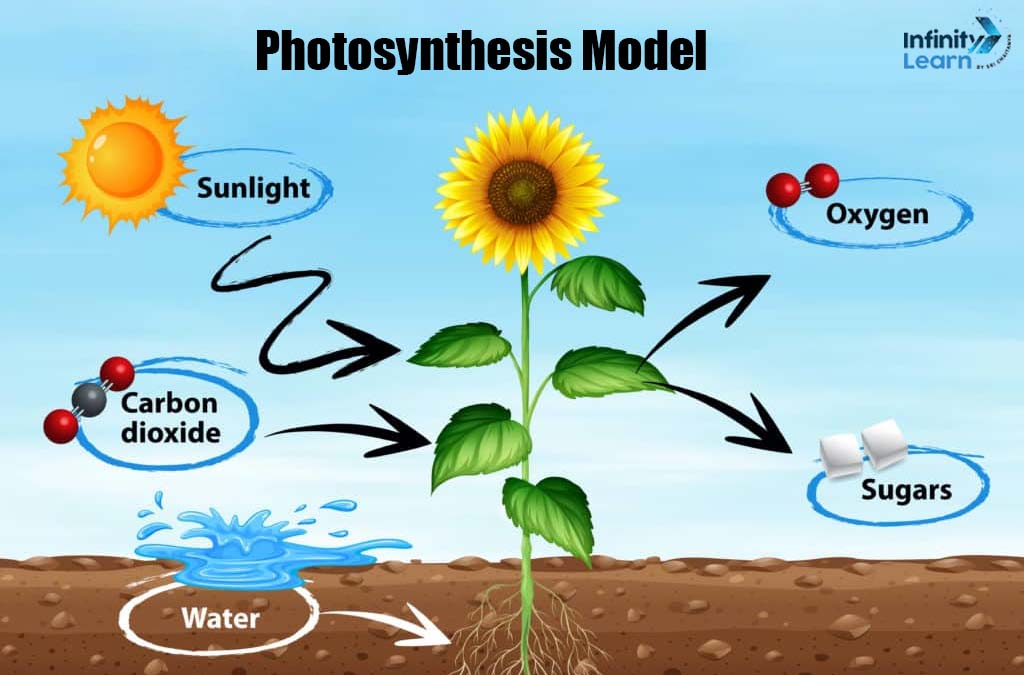
8. Photosynthesis Model
Materials Required:
- Green leaves
- Water
- Clear plastic bag
- Sunlight
Steps:
- Choose a healthy green leaf from a plant.
- Place the leaf in a small amount of water to keep it fresh.
- Place the leaf in a clear plastic bag.
- Seal the bag, leaving some air inside.
- Place the bag in direct sunlight.
- Watch the bag over several hours.
- Look for small bubbles forming inside the bag.
- The bubbles indicate that the leaf is releasing oxygen, a byproduct of photosynthesis.
- Photosynthesis is the process by which plants convert sunlight into energy, using carbon dioxide and water.
- This model demonstrates how plants produce oxygen, which is essential for life on Earth.
- It shows the importance of sunlight and plants in the ecosystem.
9. Magnetic Levitation
Materials Required:
- Neodymium magnets (2)
- Styrofoam disc or platform
- Electromagnetic coil (optional)
- Power source for the coil (if using)
Steps:
- Place a styrofoam disc or platform on a flat surface.
- Position one neodymium magnet on the platform.
- Hold the other magnet above the platform, with the poles facing each other.
- Slowly lower the top magnet towards the bottom magnet.
- Find the point where the top magnet hovers in mid-air due to magnetic repulsion.
- Optional: If using an electromagnetic coil, place it under the platform.
- Connect the coil to a power source.
- Turn on the power source for the coil (if using).
- The electromagnetic field generated by the coil will interact with the magnets, causing levitation.
- Move the top magnet around to see how the levitation point changes.
- Observe how the distance between the magnets affects the levitation.
- Magnetic levitation occurs when magnetic repulsion balances the force of gravity, allowing an object to float in mid-air.
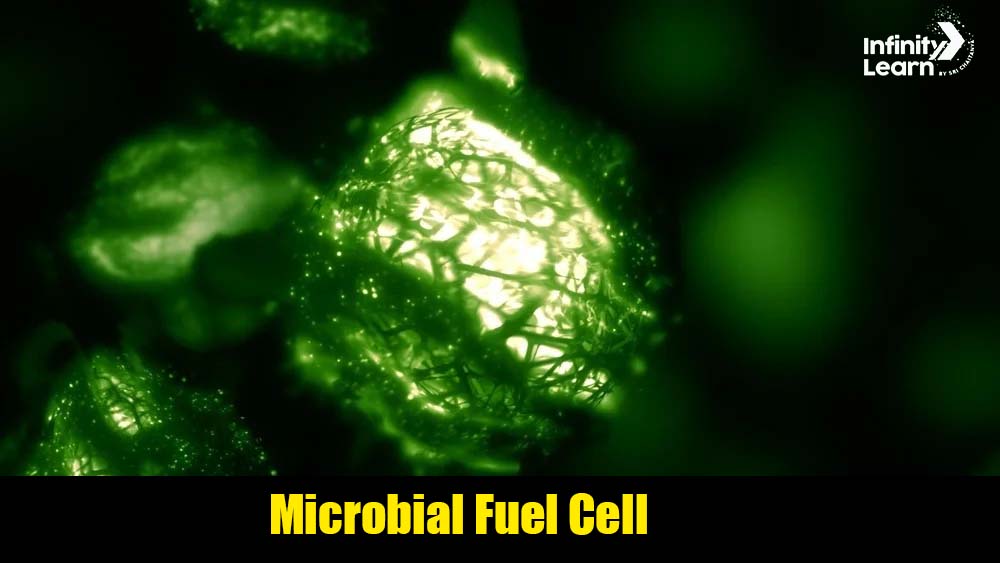
10. Microbial Fuel Cell
Materials Required:
- Two graphite electrodes
- Plastic container
- Wires
- Multimeter
- Salt bridge (optional)
- Microorganisms (e.g., soil, wastewater)
Steps:
- Attach a wire to each graphite electrode.
- Fill the plastic container with the microorganism-rich medium (e.g., soil, wastewater).
- Insert the graphite electrodes into the medium, ensuring they do not touch each other.
- Connect one electrode to the positive terminal and the other to the negative terminal of the multimeter.
- Turn on the multimeter to measure the voltage produced by the microbial fuel cell (MFC).
- The voltage indicates the electrical energy generated by the microorganisms.
- If using a salt bridge, place it between the electrodes to enhance ion flow.
- Observe the multimeter readings over time.
- Record any changes in voltage as the microorganisms generate electricity.
- A microbial fuel cell uses microorganisms to convert organic matter into electricity through a process known as microbial metabolism.
- This project demonstrates how microorganisms can be used as a renewable energy source.
These science project ideas are not only educational but also engaging for Class 9 students. They can be done using simple materials and encourage students to explore various scientific concepts through hands-on experimentation.
Conclusion
These science project ideas offer students opportunities to engage with scientific concepts in fun and interactive ways. Whether exploring renewable energy, conducting biology experiments, or delving into space exploration, students can develop critical thinking skills and a deeper understanding of the world around them through hands-on projects. Encouraging curiosity and exploration is key to nurturing the next generation of scientists and innovators.


